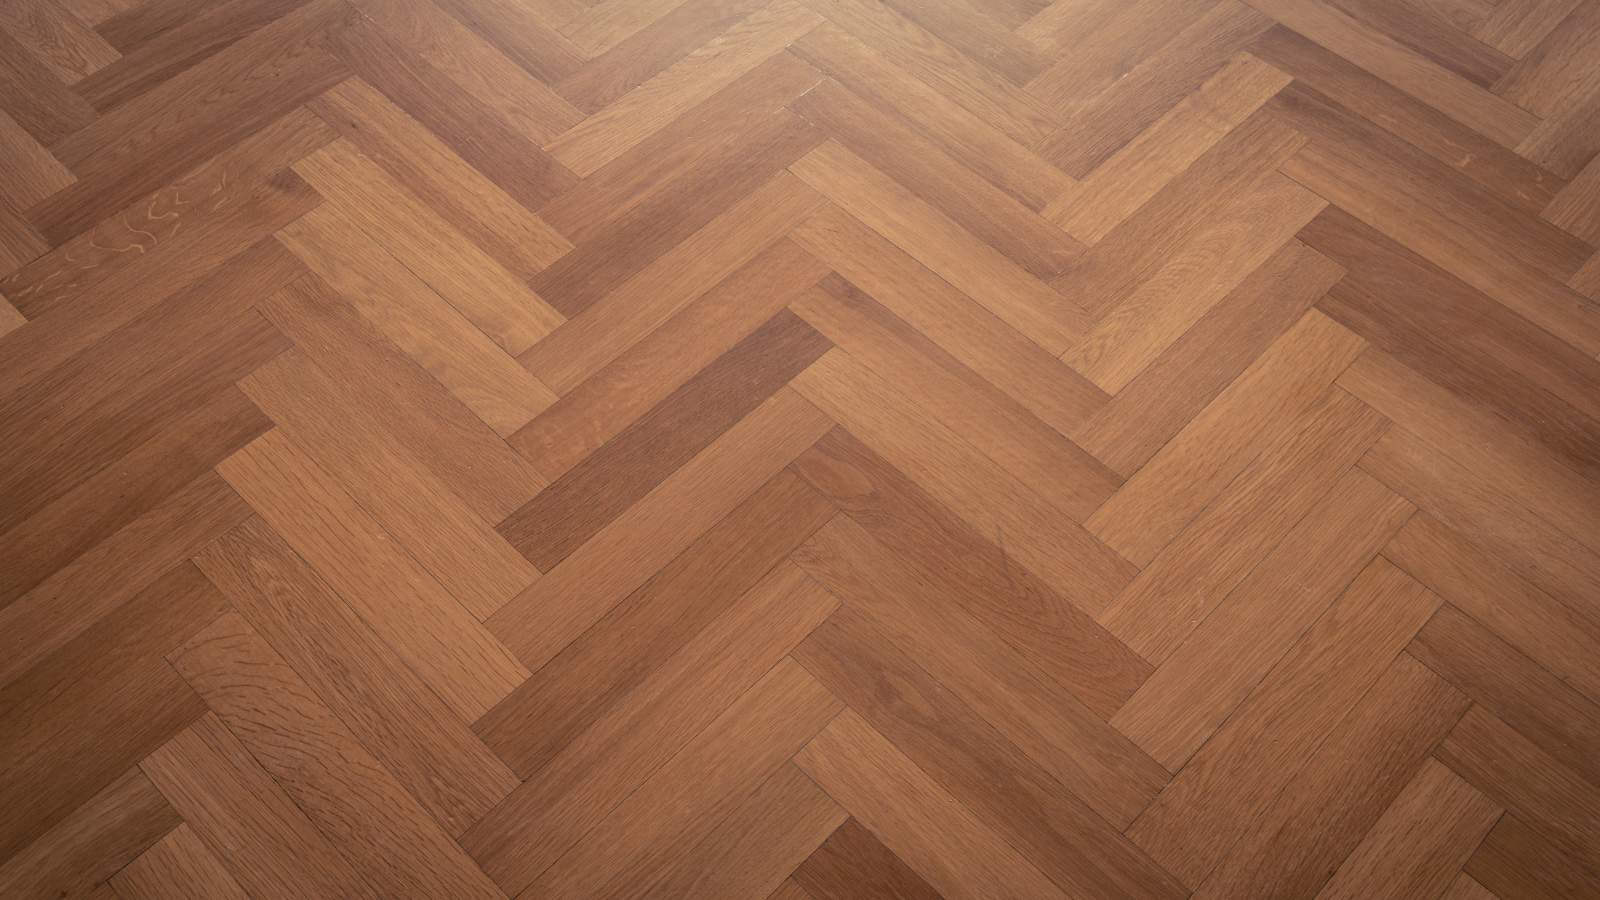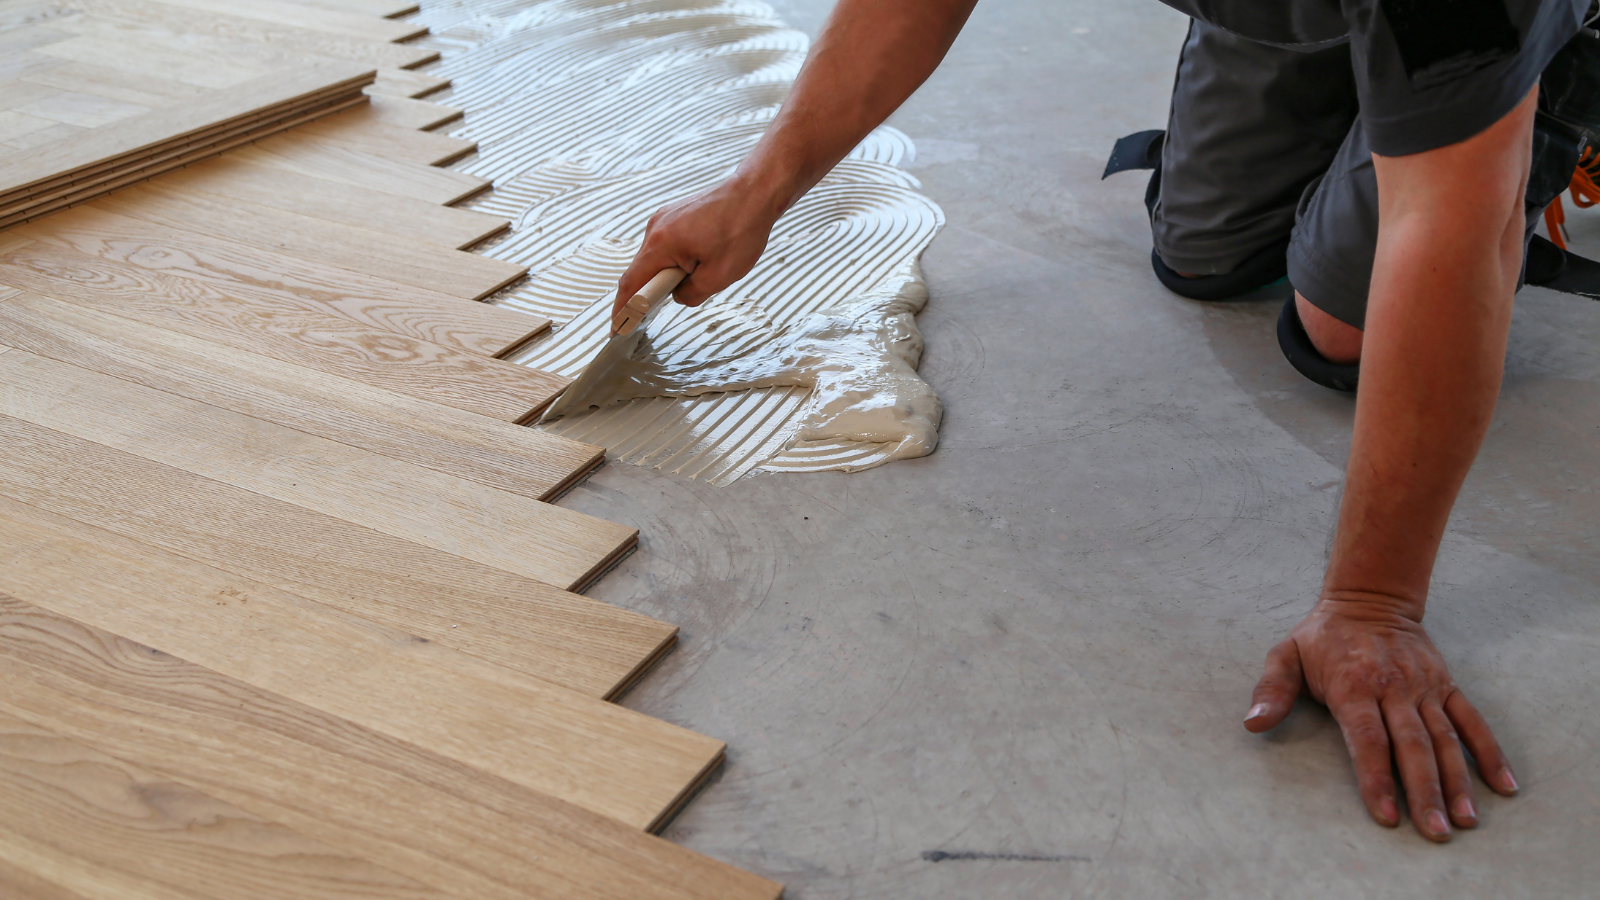

Solid Wood Flooring is a great choice for any home. A hardwearing floor that blends into its surroundings the longer it is down for. Solid wood flooring ages beautifully in any room and lasts for years. Not only does it look great for many years, and style savvy person knows that a professionally
fitted good quality real wood flooring adds character and value to your property.
Often more expensive than its cheaper counterparts like laminate and engineering flooring, solid oak floors are considered more of an investment to your home. Other floor coverings like carpet do not add value to your home as they deteriorate over time with wear and fading.
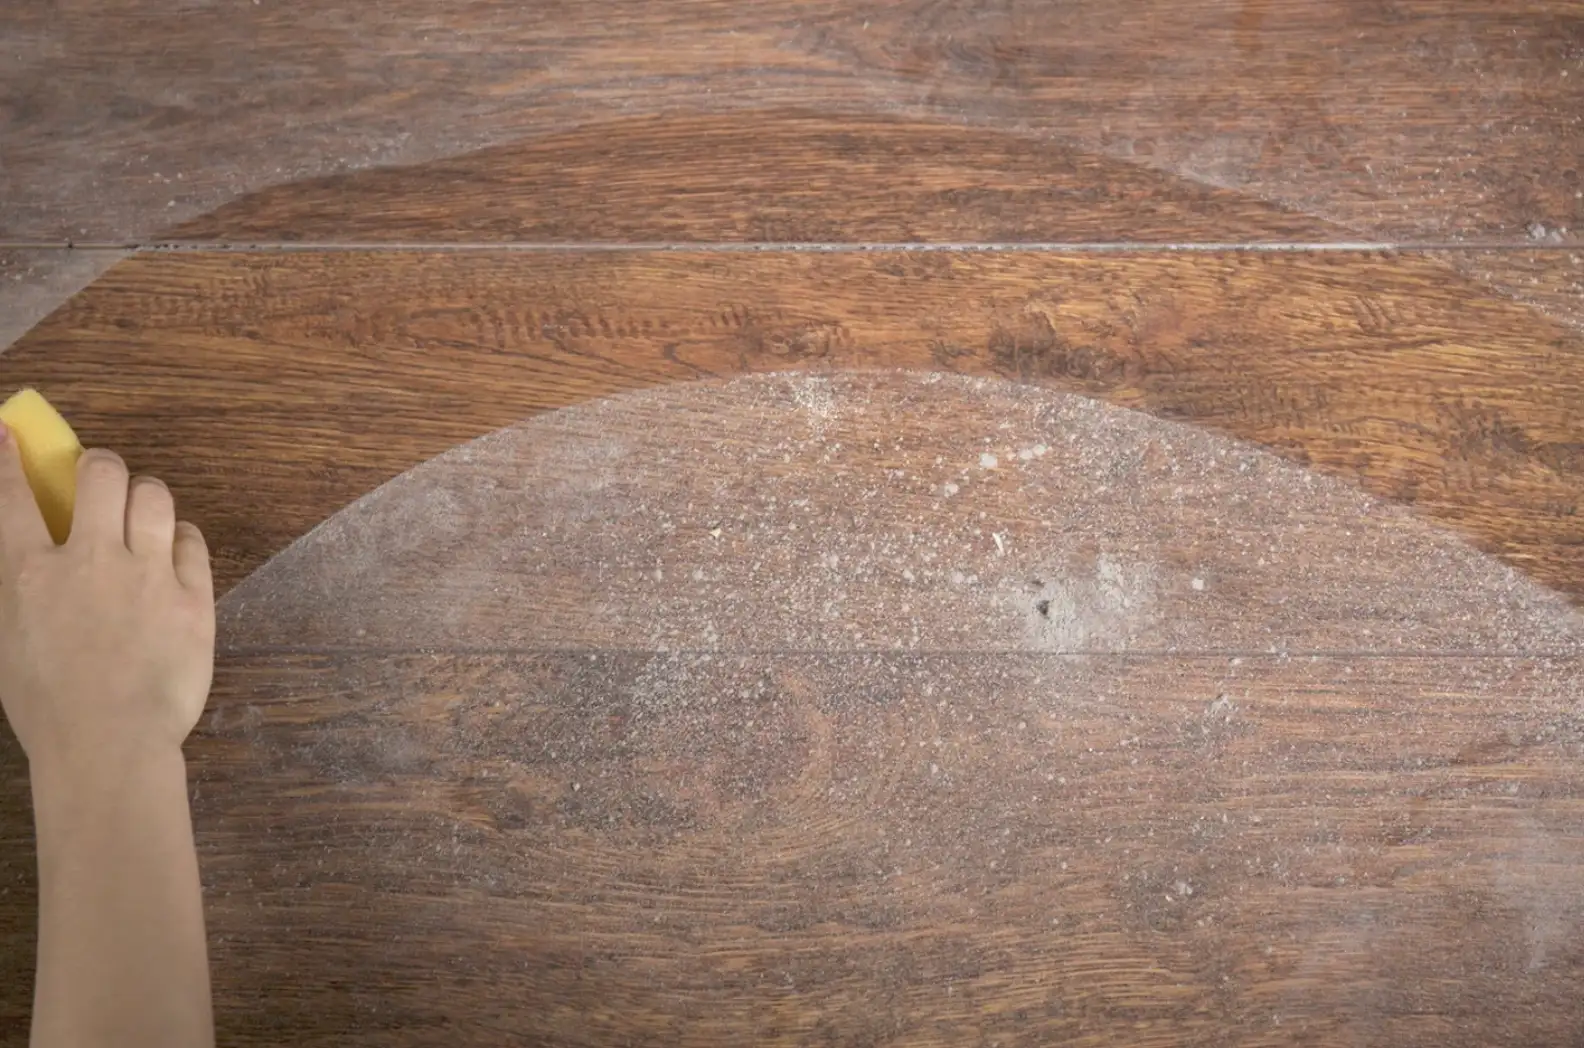
Solid wood flooring matures and gets better with age. Over time, solid wood flooring can look tired and dull from a build up of dirt and grime in the grain that is difficult to remove, this does not however mean you have to rip up the flooring and start again like carpet, you just need to speak to a professional flooring specialist at JG Flooring to sand and seal the flooring back to its former glory.
Highly Skilled Floor Fitters
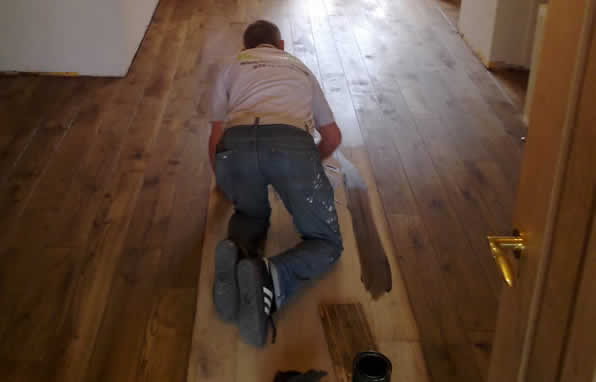
Our highly skilled professional floor fitters have many years experience with solid wood flooring and will restore your once beloved floor back to its former glory. Along with our expertise, we have all of the specialised equipment necessary to professionally and safely restore the wood without creating a mess. After sanding the flooring we will then add an oil or in some case lacquer to the floor to emphasise the beauty of the wood whilst also protecting for many more years.
Having your solid wood flooring sanded and sealed professionally by the JG Flooring floor fitters is the best way to ensure that your flooring will look as new again in your home whilst giving you peace of mind that it will last for many more years.
Sanding Solid Wood Flooring
Sanding wooden floors is a meticulous process that can significantly enhance the beauty and longevity of your flooring. The first step involves thorough preparation. Begin by removing all furniture and rugs from the room to ensure you have a completely unobstructed workspace. Next, inspect the floor for any protruding nails or staples, which should be hammered down or removed to prevent damage to your sanding equipment. Seal off the area with plastic sheeting to contain dust within the workspace and protect the rest of your home.
The sanding process starts with rough sanding using a drum sander equipped with coarse grit sandpaper, typically 36-grit. Sand along the direction of the wood grain, maintaining a steady movement to avoid gouging the floor. Once the main area is sanded, use an edge sander with the same grit to reach the areas that the drum sander couldn’t. After this initial pass, thoroughly vacuum the floor to remove all dust and debris, ensuring a clean surface for subsequent sanding stages.
Intermediate Sanding
Intermediate sanding involves repeating the process with medium grit sandpaper, usually 60-grit, on both the drum sander and edge sander. This step helps smooth out the roughness left by the coarse grit. After completing this stage, vacuum the floor again and inspect it for any rough spots. Repeat the sanding with finer grits such as 80-grit and 100-grit if necessary, to achieve a smoother finish. You should follow up each pass with a hoover to keep the surface clean.
The final sanding is done using fine grit sandpaper, around 120-grit, for a perfectly smooth finish. Optionally, a floor buffer with a fine-grit sanding screen can be used for an even more refined surface. After the final sanding, thoroughly vacuum the floor and wipe it down with a tack cloth or microfiber cloth to remove any remaining dust. This ensures that the surface is completely clean and ready for finishing.
Applying the finish is the last crucial step. Start by applying the first coat of polyurethane or another chosen floor finish according to the manufacturer’s instructions. Once the first coat is dry, lightly sand the floor with a fine-grit sandpaper (220-grit) to prepare it for the next coat. Repeat this process, applying additional coats and sanding between each one to build up a durable and smooth finish. We recommend 2-3 coats. By following these detailed steps, you can achieve a beautifully sanded and finished wooden floor. This will enhance the aesthetics and value of your home.