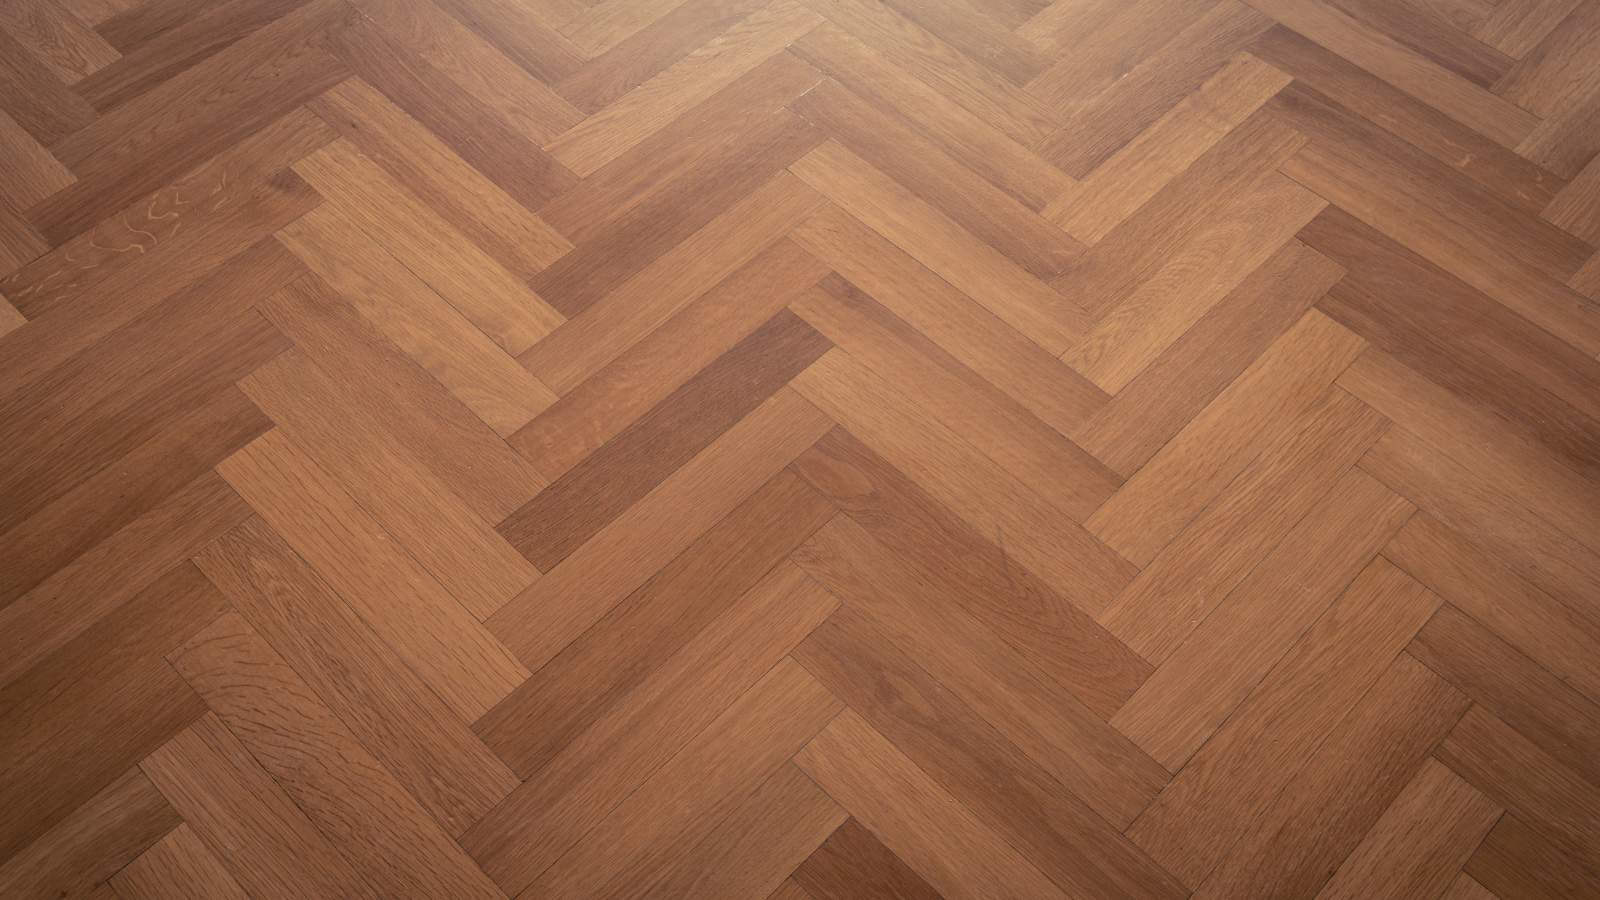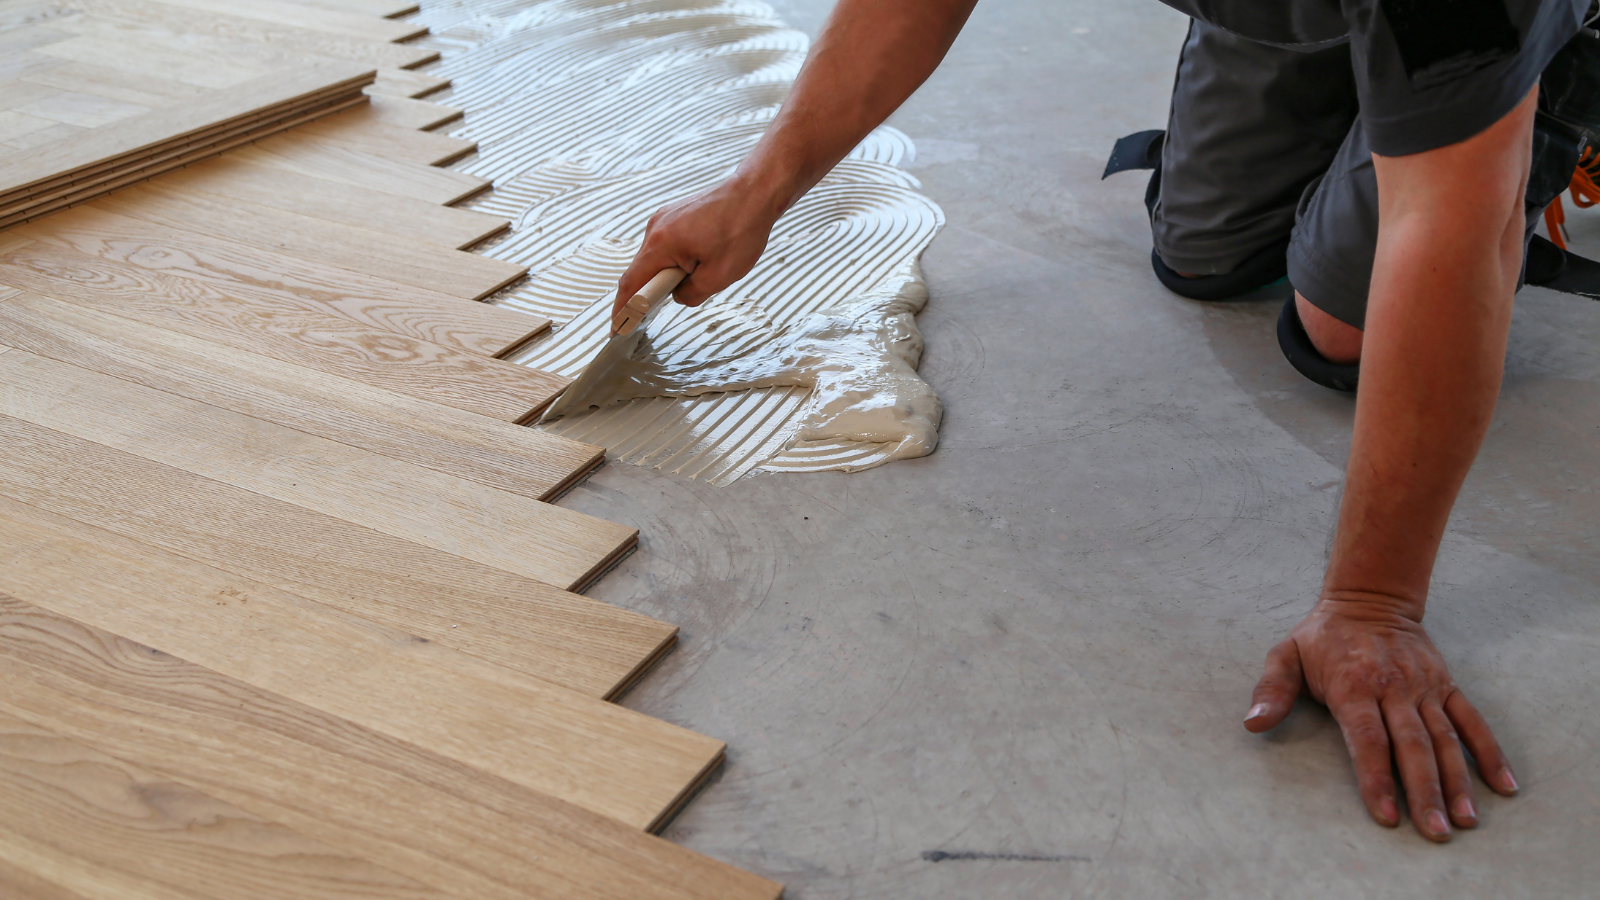

Wooden floors exude timeless elegance and warmth, but over time, they may lose their luster due to wear and tear. Fortunately, restoring the natural beauty of wooden floors is easier than you might think with the right tools and techniques. In this comprehensive guide, we’ll walk you through the step-by-step process of polishing wooden floors to achieve stunning results that will revitalise your space.
Prepare the Surface
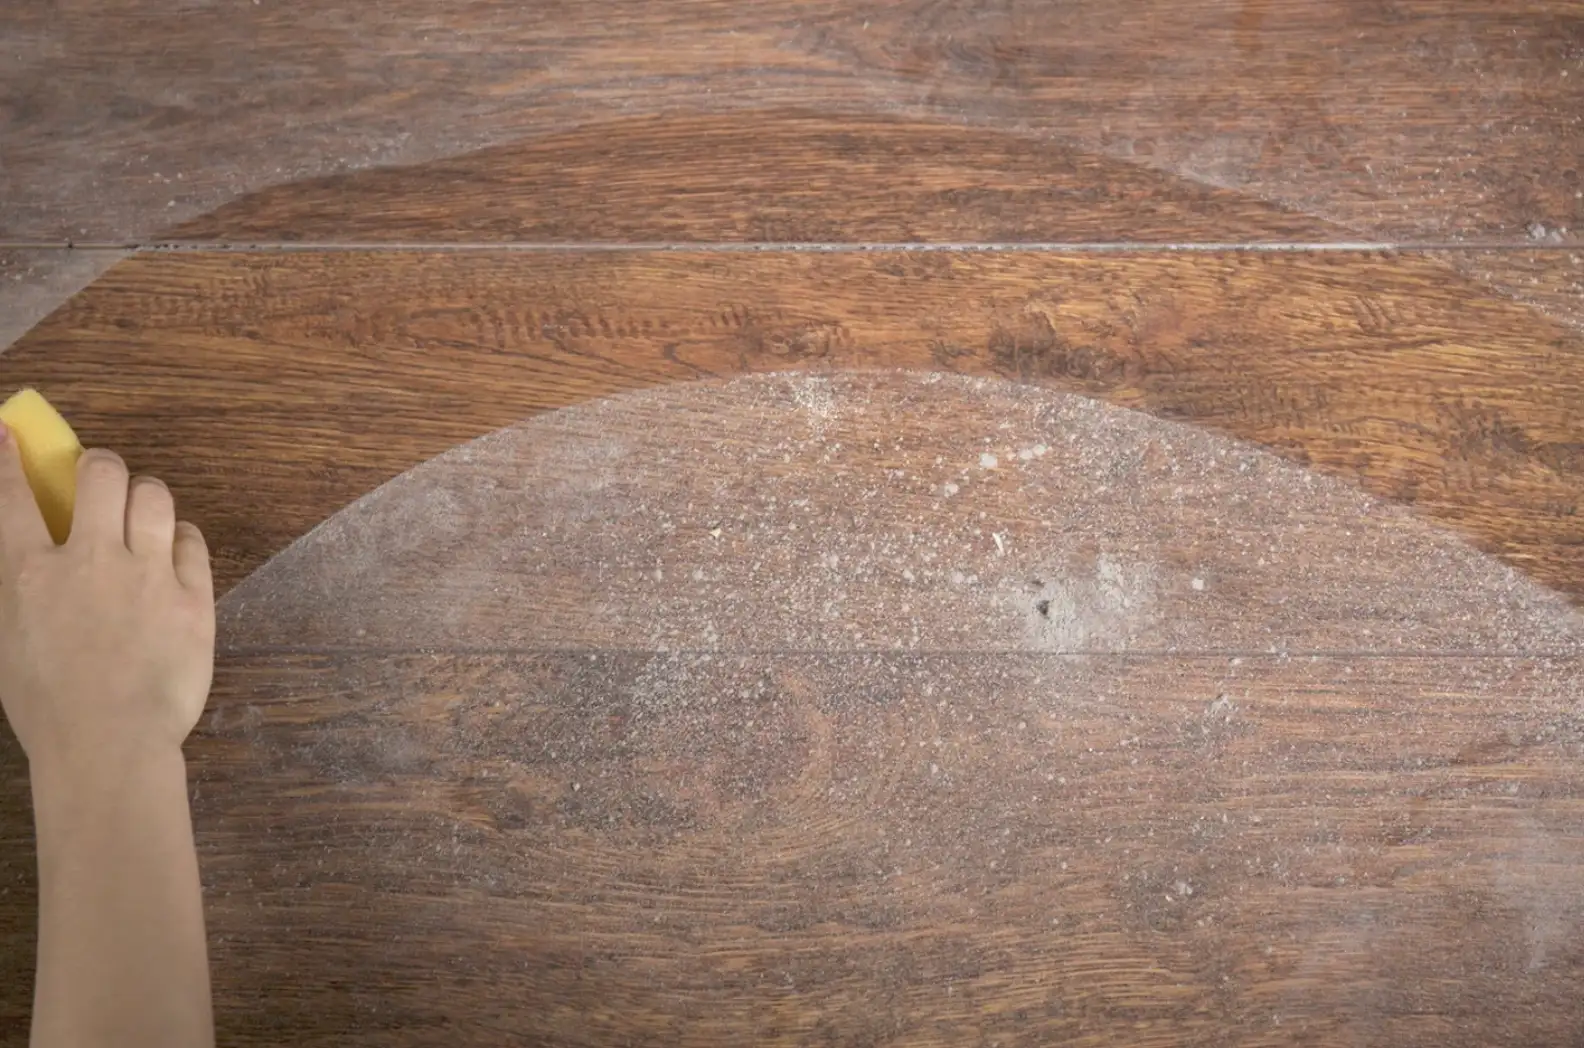
Before you begin polishing, it’s essential to prepare the wooden floor surface properly. Start by clearing the room of furniture and debris. Use a broom, vacuum cleaner, or microfibre mop to remove dust, dirt, and loose particles from the floor’s surface. For stubborn stains or residue, consider using a gentle wood cleaner or solvent recommended for your floor type.
Sanding (If Necessary)
If your wooden floors have deep scratches, uneven surfaces, or stubborn stains that cannot be removed through cleaning alone, you may need to sand the surface to prepare it for polishing. Use a floor sander with fine-grit sandpaper to smooth out imperfections and create a uniform surface. Be sure to follow the manufacturer’s instructions and work methodically to avoid over-sanding or damaging the wood.
Choose the Right Polish
Selecting the appropriate polish is crucial for achieving optimal results. Choose a high-quality wood floor polish or wax that is specifically formulated for your floor’s finish (e.g., polyurethane, oil-based, water-based). Test the polish in an inconspicuous area to ensure compatibility and desired results before applying it to the entire floor.
Apply the Polish
Once you’ve chosen the right polish, it’s time to apply it to the wooden floor surface. Start by pouring a small amount of polish onto the floor and spreading it evenly using a clean, lint-free cloth or applicator pad. Work in small sections, following the direction of the wood grain to ensure uniform coverage. Avoid applying too much polish, as excess product can lead to streaks or a sticky residue.
Buffing and Polishing
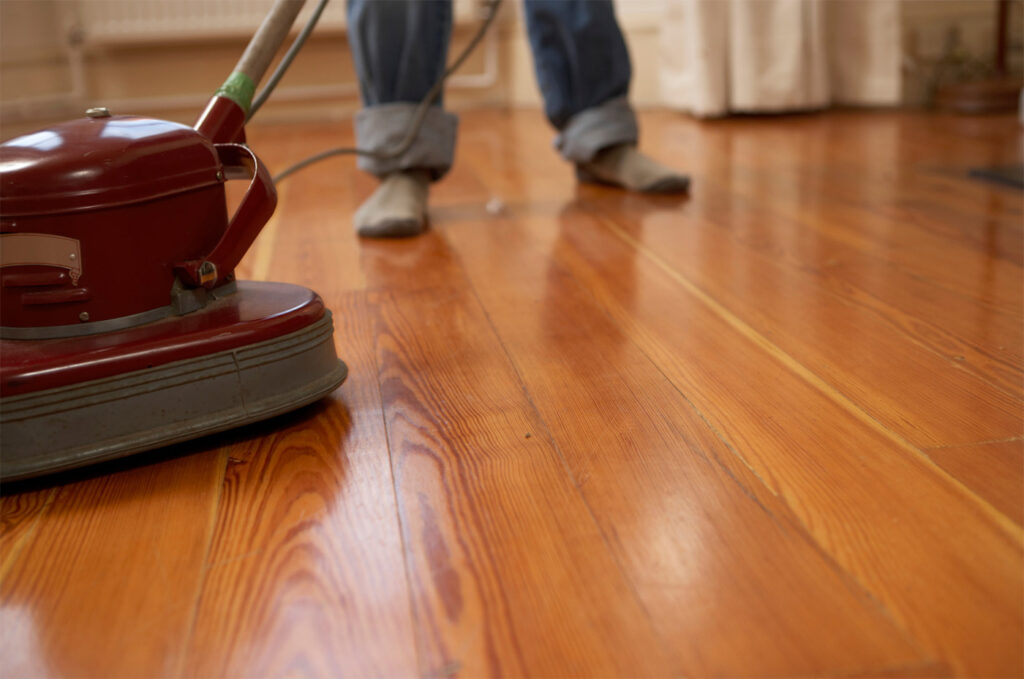
After applying the polish, allow it to dry according to the manufacturer’s instructions. Once dry, use a floor buffer or polisher equipped with a soft, fine-grit buffing pad to buff the surface of the floor. Work methodically across the entire floor, applying gentle pressure and overlapping each pass to achieve a consistent shine. For optimal results, consider buffing the floor in multiple directions to ensure even coverage.
Finishing Touches
To maintain the beauty of your polished wooden floors, follow these maintenance tips:
- Regularly sweep or vacuum the floor to remove dust and debris.
- Use a damp mop or microfiber cloth to clean spills and stains promptly.
- Avoid using harsh chemicals or abrasive cleaners that can damage the wood finish.
- Place felt pads under furniture legs to prevent scratches and dents.
- Consider reapplying polish or wax periodically to maintain the floor’s shine and protection.
A Guide to Polishing Wooden Floors Conclusion
Polishing wooden floors is a rewarding endeavor that can breathe new life into your home or space. By following these steps and incorporating regular maintenance practices, you can enjoy the timeless beauty and warmth of polished wooden floors for years to come. So, roll up your sleeves, unleash your inner DIY enthusiast, and let your wooden floors shine bright once again!