
Wooden flooring adds warmth and elegance to any home, but it can be prone to scratches and scuffs over time. Whether caused by pets, furniture, or daily wear and tear, these scratches can detract from the beauty of your floors. Fortunately, there are several effective methods to remove or minimise scratches, helping to restore your wooden floors to their original splender. Here’s a comprehensive guide on how to remove scratches from wooden flooring, using several different methods.
Understanding the Types of Scratches on Wooden Flooring
Before diving into the removal techniques, it’s essential to understand the types of scratches you might encounter:
- Superficial Scratches: Light scratches that only affect the surface finish of the wood.
- Minor Scratches: Slightly deeper than superficial scratches but do not penetrate the wood deeply.
- Deep Scratches: These penetrate the wood surface and may require more intensive repair methods.
Tools and Materials You’ll Need
- Soft cloths or microfibre towels
- Wood cleaner
- Steel wool (fine grade)
- Wood filler or putty
- Sandpaper (fine grit)
- Wood stain or touch-up pen
- Polyurethane or wood finish
- Wax stick or crayon
- Iron
- Water
Methods for Removing Scratches
For Superficial Scratches
Using a DIY Solution
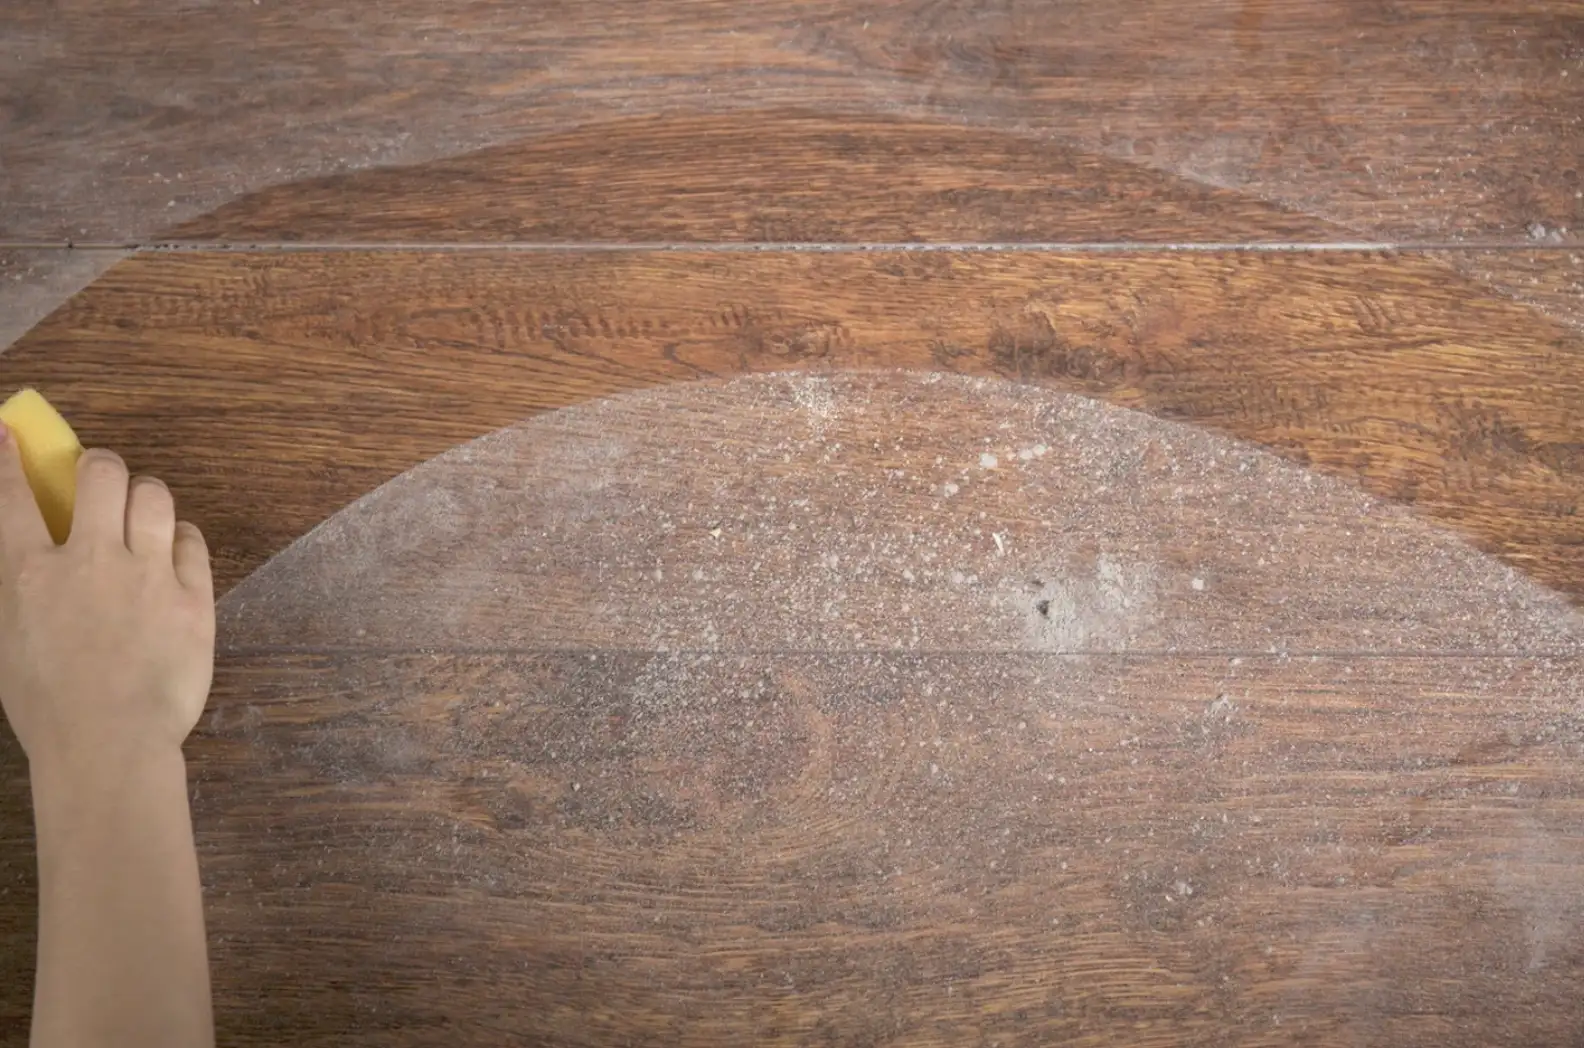
- Clean the Area: Start by cleaning the scratched area with a soft cloth and wood cleaner to remove any dirt or debris.
- Apply Olive Oil and Vinegar: Mix equal parts of olive oil and vinegar. Dip a soft cloth into the mixture and rub it into the scratch. The vinegar will clean the scratch, and the olive oil will help blend and polish the wood.
- Buff the Surface: Use a clean, dry cloth to buff the area until the scratch is less visible.
For Minor Scratches
Using a Wax Stick or Crayon
- Choose a Matching Color: Select a wax stick or crayon that matches the color of your wooden floor.
- Rub into the Scratch: Rub the wax stick or crayon over the scratch until it is filled.
- Buff the Area: Buff the area with a soft cloth to remove any excess wax and blend it into the surrounding wood.
Using a Wood Touch-Up Marker
- Select the Right Marker: Choose a wood touch-up marker that closely matches your floor’s color.
- Apply the Marker: Carefully color in the scratch with the touch-up marker.
- Wipe Excess: Quickly wipe away any excess marker with a clean cloth.
For Deep Scratches
Using Wood Filler or Putty
- Clean the Area: Clean the scratched area thoroughly.
- Fill the Scratch: Apply wood filler or putty to the scratch using a putty knife. Ensure the filler is level with the surrounding wood.
- Sand Smooth: Once the filler is dry, gently sand the area with fine-grit sandpaper until it is smooth.
- Stain and Finish: Apply a matching wood stain to the filled area. Once the stain is dry, apply a coat of polyurethane or wood finish to seal it.
Using the Iron Method (for surface scratches on waxed floors)
- Dampen a Cloth: Moisten a cloth with water.
- Apply Heat: Place the damp cloth over the scratch and run a hot iron over it for a few seconds. The heat will help the wood fibers swell and close the scratch.
- Buff the Area: Once dry, buff the area with a soft cloth.
Preventing Future Scratches
Use Furniture Pads
- Place felt pads under the legs of furniture to prevent scratches when moving items.
Regular Cleaning
- Keep the floor clean of dust and debris, which can cause scratches.
Area Rugs and Runners
- Use area rugs and runners in high-traffic areas to protect the floor.
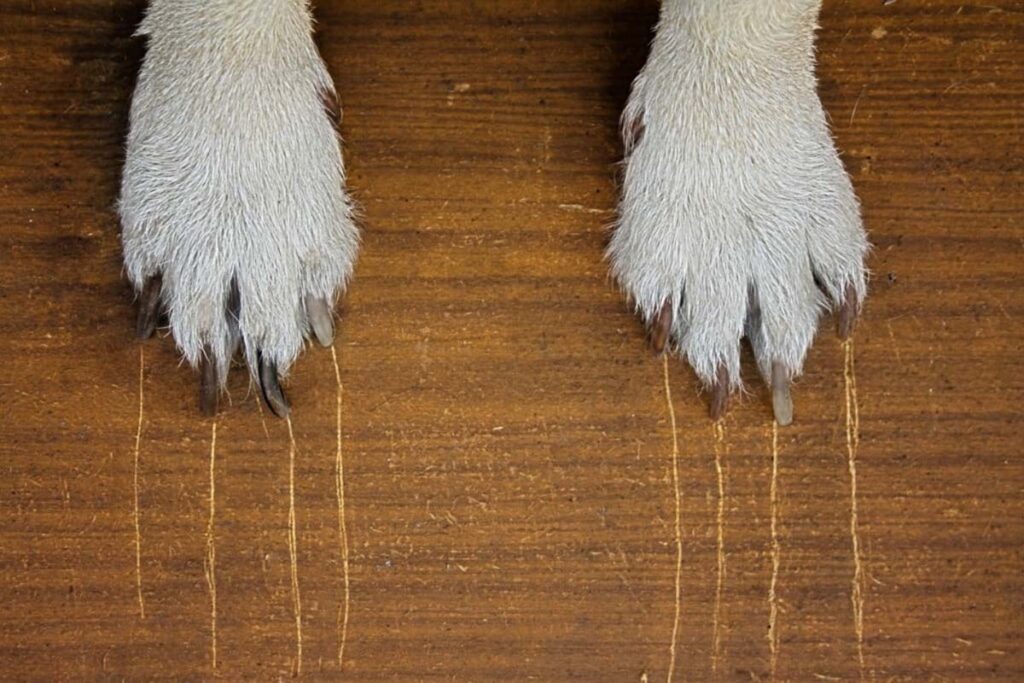
Trim Pet Nails
- Keep your pets’ nails trimmed to prevent them from scratching the floor.
Proper Maintenance
- Regularly apply a wood floor polish or wax to maintain the protective finish on your floors.
Conclusion
Wooden floors are a beautiful and durable choice for any home, but they require proper care to keep them looking their best. By understanding the types of scratches and using the appropriate methods to address them, you can effectively remove or minimise these blemishes and restore the natural beauty of your wood flooring. Regular maintenance and preventive measures will also help keep your floors scratch-free for years to come. By using this guide, you should be able to efficiently remove any scratches from wooden flooring in your home.