Skip to content

Engineered flooring has become a popular choice for homeowners due to its durability, versatility, and aesthetic appeal. However, accidents and wear and tear are inevitable, leading to occasional damage. Fear not, as repairing damaged engineered flooring is a manageable task that can restore the beauty and integrity of your floors. In this blog, we will walk you through a comprehensive step-by-step guide on how to repair various types of damage in your engineered flooring.
Step 1: Assess the Damage
Before jumping into the repair process, carefully assess the extent and type of damage. Common issues include scratches, dents, water damage, and minor surface wear. Identifying the problem accurately will help you choose the right repair method and materials.
Step 2: Gather the Necessary Tools and Materials
Having the appropriate tools and materials at hand is essential for a successful repair. Here’s a basic list to get you started:
- Replacement planks: Purchase new engineered planks that match your existing flooring’s species and finish.
- Utility knife: Used to cut damaged portions and trim new planks if needed.
- Hammer and nails: For securing loose planks or dealing with minor gaps.
- Wood putty or filler: Ideal for repairing minor scratches, dents, and gouges.
- Sandpaper: To smoothen the repaired area and prepare it for refinishing.
- Wood glue: Necessary for fixing loose or lifted planks.
- Finishing products: Depending on your flooring’s finish, you might need matching stain, polyurethane, or oil.
Step 3: Repairing Scratches, Dents, and Gouges in Engineered Flooring
For minor surface blemishes, follow these steps:
- Clean the affected area: Remove any dirt or debris from the damaged section.
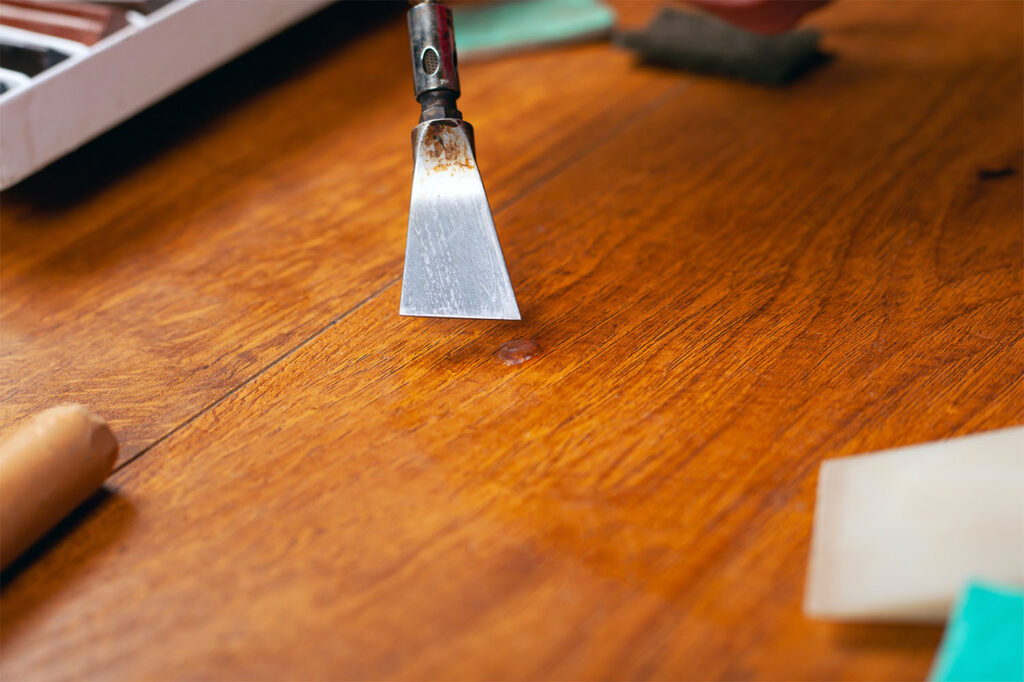
- Apply wood filler: Fill the scratch, dent, or gouge with an appropriate wood filler, following the manufacturer’s instructions. Allow it to dry completely.
- Sand the area: Gently sand the repaired area until it is smooth and blends with the surrounding floor.
- Refinish: Reapply the finish to the repaired spot, matching it to the rest of the flooring. Feather the finish edges for a seamless look.
Step 4: Dealing with Loose or Lifted Planks
If you notice any loose or lifted planks, follow these steps:
- Clean the area: Ensure the area surrounding the loose plank is clean and free of obstructions.
- Apply wood glue: Carefully apply wood glue to the subfloor beneath the loose plank.
- Press down and secure: Gently press the plank back into place and use weights or clamps to keep it in position until the glue dries completely.
- Finishing touches: Once the glue is dry, inspect the repaired plank for any gaps or unevenness. Sand if necessary and refinish to match the rest of the floor.
Step 5: Addressing Water Damage
Water damage can cause engineered flooring to swell, warp, or buckle. If you encounter this issue:
- Identify the source: Locate and address the source of the water intrusion to prevent further damage.
- Dry the area: Use fans or dehumidifiers to dry out the affected area. It may take several days for the flooring to return to its original shape.
- Sand and refinish: After the floor is completely dry, sand the damaged area, and refinish it to match the rest of the floor.
Conclusion
With the right tools, materials, and a little know-how, repairing damaged engineered flooring is a manageable DIY project. Regularly inspecting and promptly addressing any issues will help prolong the life and beauty of your floors. However, for extensive damage or if you’re unsure about the repairs, it’s best to consult a professional to ensure the best results and avoid any further damage. With proper care and attention, your engineered flooring will continue to enhance your home’s aesthetics and provide comfort for years to come.